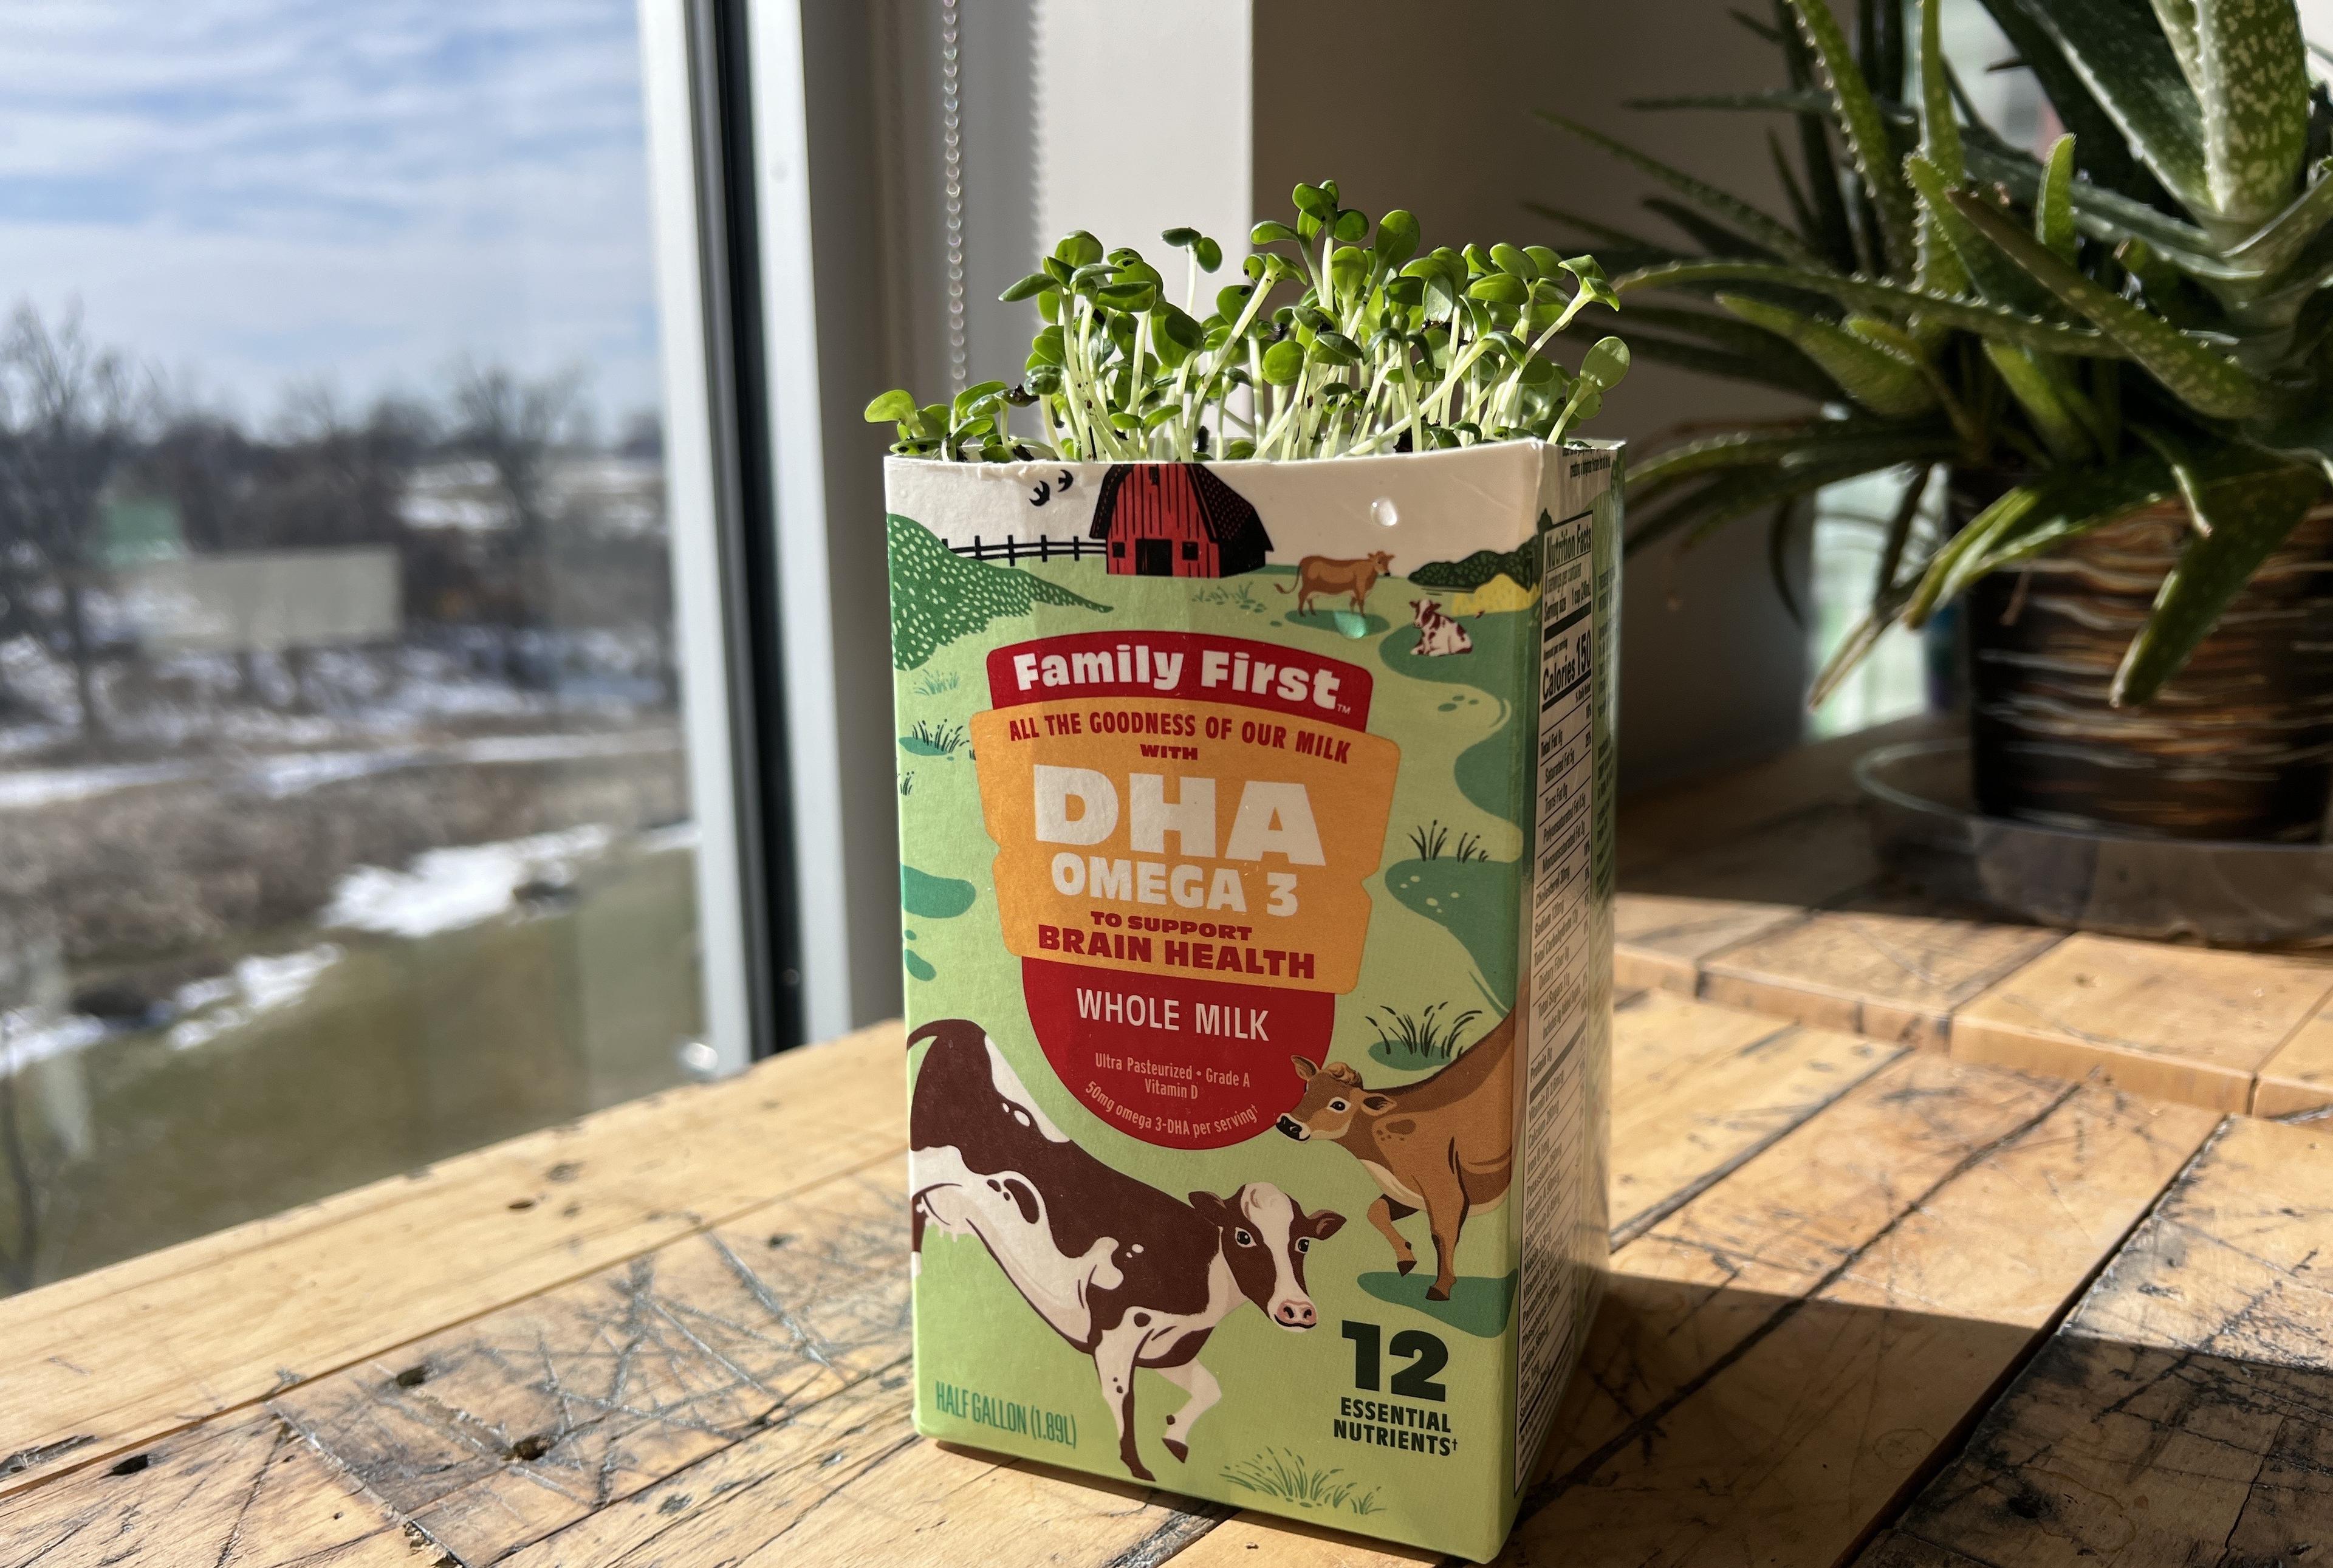
Earth
Make a DIY Seed Planter Using an Organic Valley Milk Carton
Spring planting is right around the corner (or it’s already here, depending on your location), and whether you are looking to start a garden or simply find a fun family activity, we’ve got you covered! Starting seeds with your kids is so easy, and it’s a great way to introduce them to the wonder of watching seeds turn into plants.
To get started, you will need one or more empty milk containers (we recommend half-gallon cartons, but gallon or quart containers would work as well). You will also need seeds, potting soil, water, plastic wrap and a medium rubber band (optional).
In a few family friendly steps, you and your kids will be able to watch your seeds sprout indoors for a window garden or in preparation for outdoor gardening.
What Kind of Seeds Should I Use?
If you’re doing this with your kids, letting them choose a few of the items to grow helps them feel more attached to their little sprouts.
Flowers like zinnias, petunias and marigolds are always a good choice as they’re colorful and can be transplanted outdoors or put in hanging pots if desired.
We used zinnias in these photos and were pleasantly surprised. Less than a week after placing the seed carton by a window in our office, the zinnia sprouts popped through the soil! (We also love that pollinators, particularly butterflies, love zinnias).
Leaf lettuces are fantastic for growing in gallon jugs in a sunny window. The leaves can be picked as needed for salads and sandwiches.
Herbs are also fun to grow with kids — choose ones that are aromatic or that you’ll use frequently in cooking, like mint, thyme, parsley, cilantro and oregano. Woody herbs like rosemary are tasty, but they take longer to grow and can be higher maintenance.
Get creative! You can even plant multiple types of plants in the same container to create combinations that are pretty and possibly edible!
How to Start Seeds in Milk Cartons
- Using scissors, carefully cut the Organic Valley milk carton in half, discarding the top portion of the container.
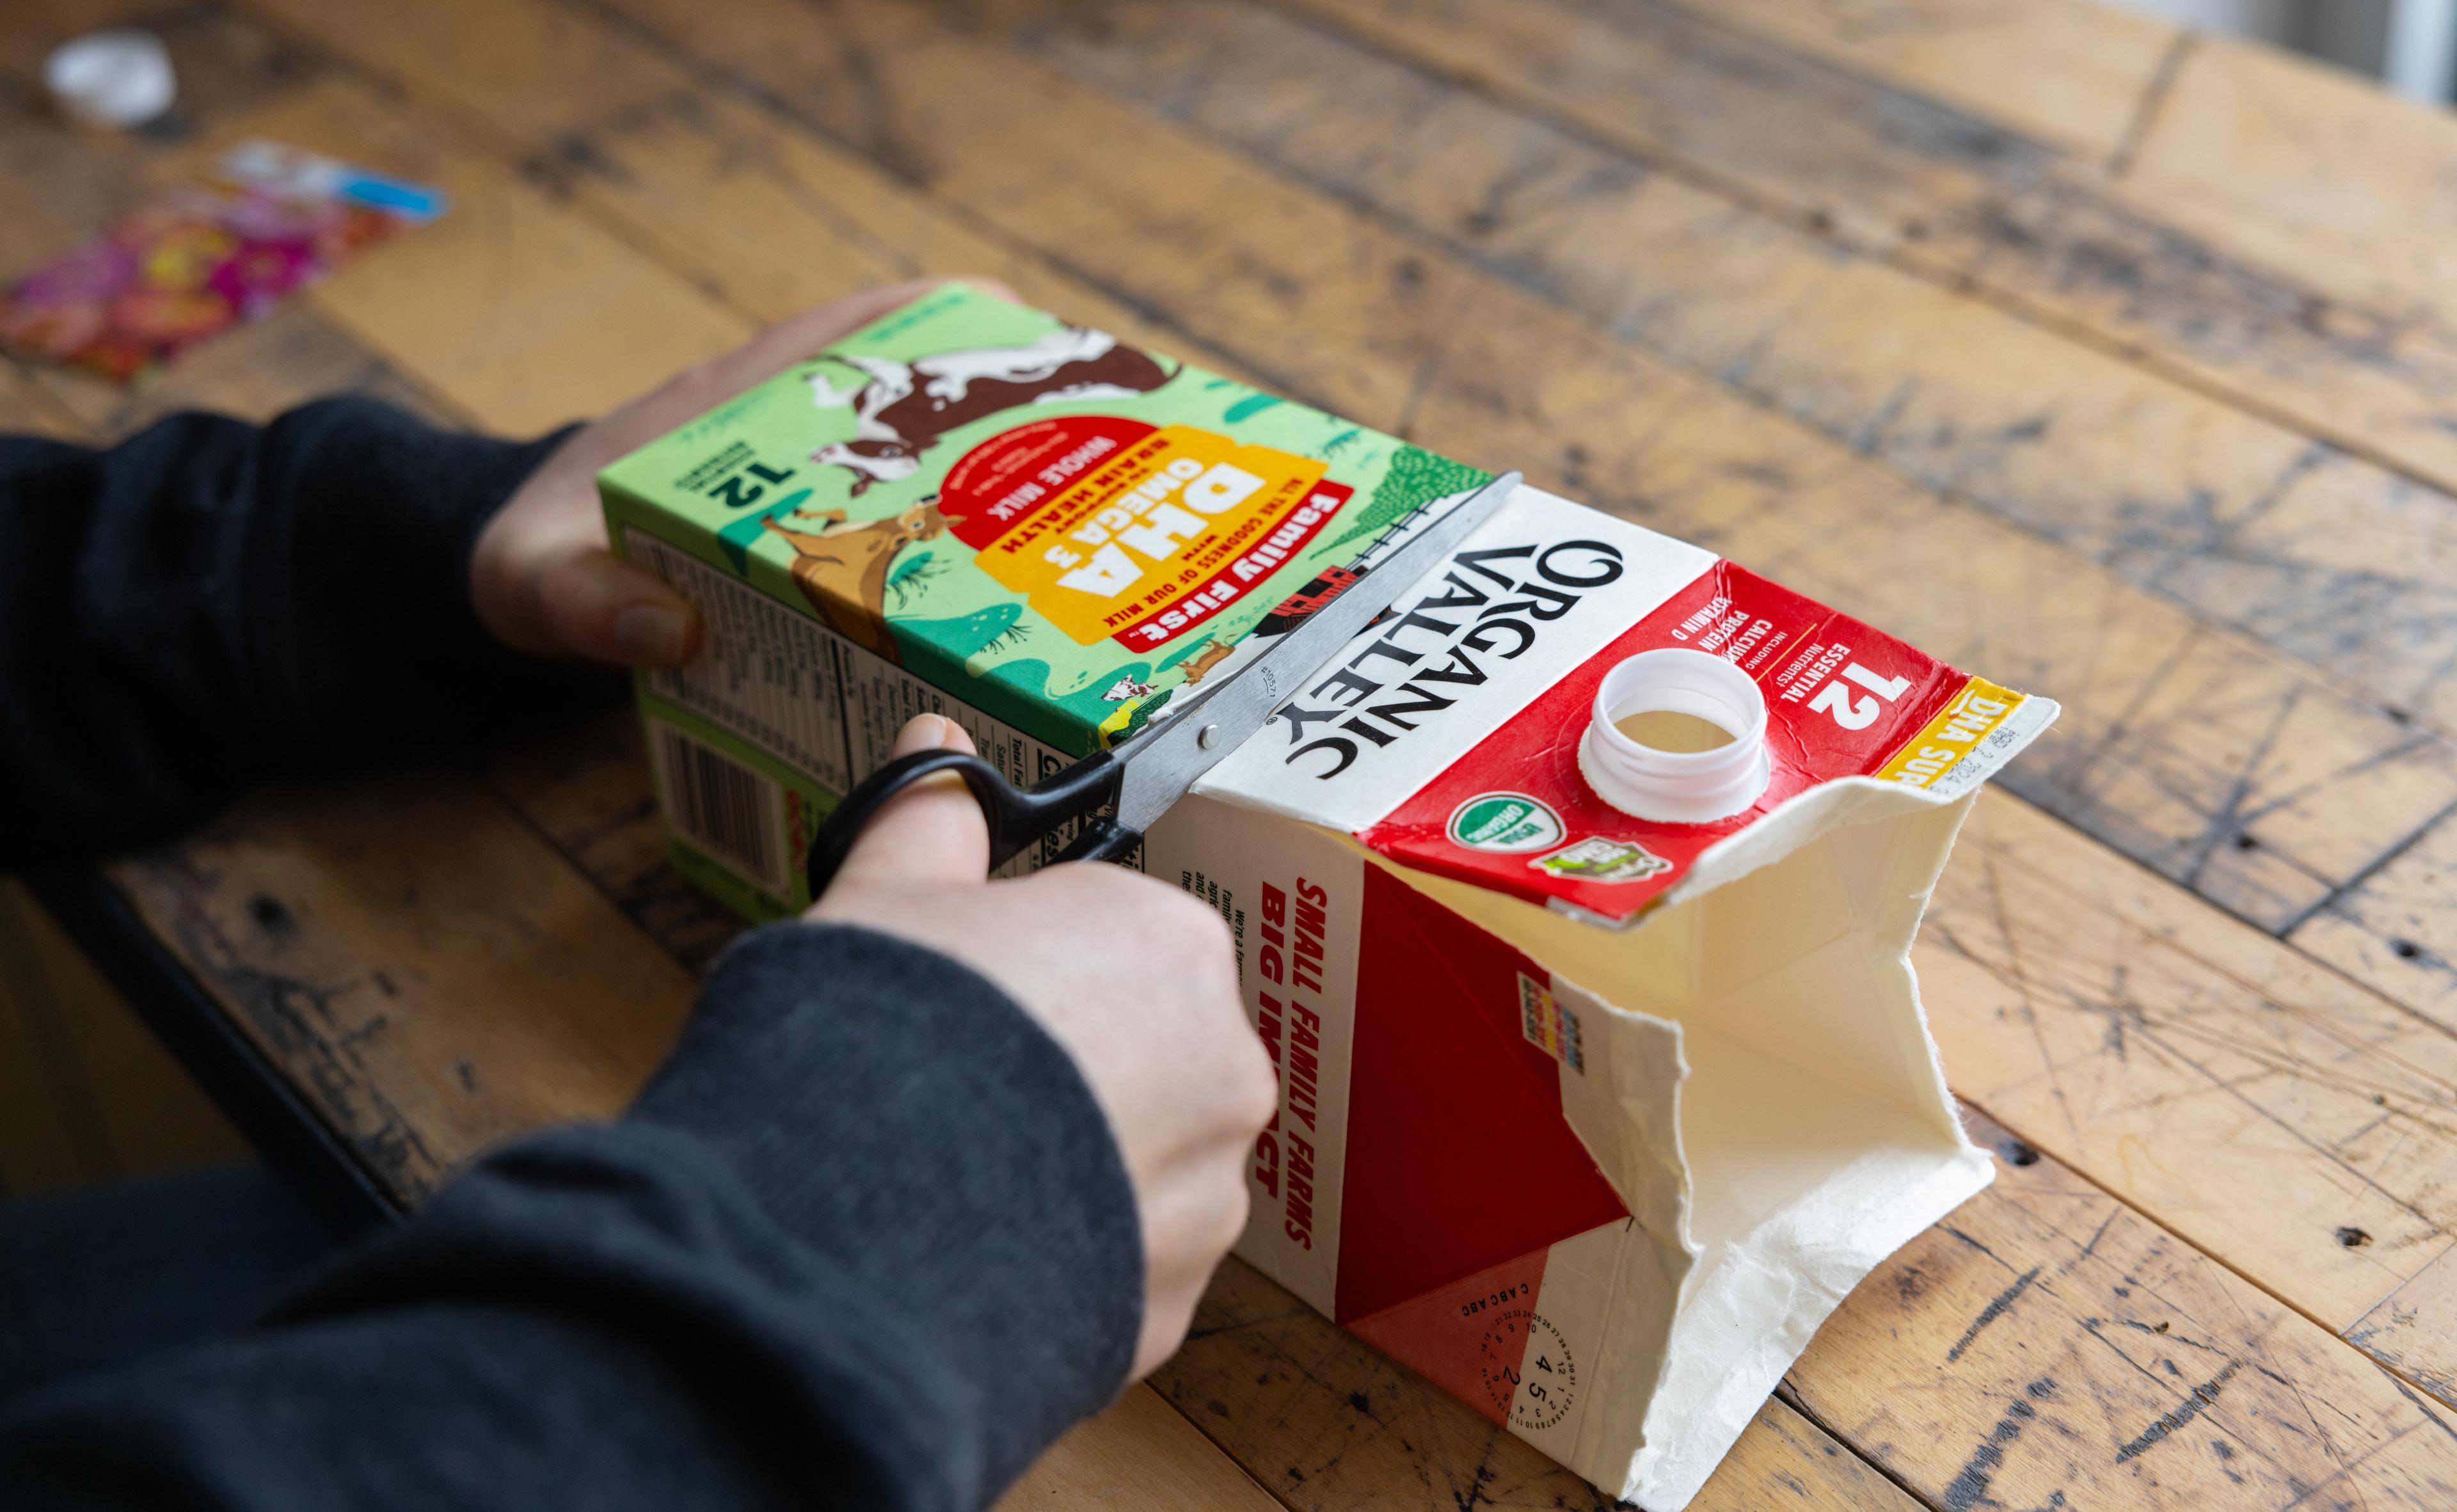
- Using scissors, you can carefully poke holes in the bottom of the carton for drainage. Place the carton on a plate or tray if you are concerned about water seeping through the bottom. (We did not poke holes in our experimental carton but were careful not to overwater. The seeds sprouted as expected.)
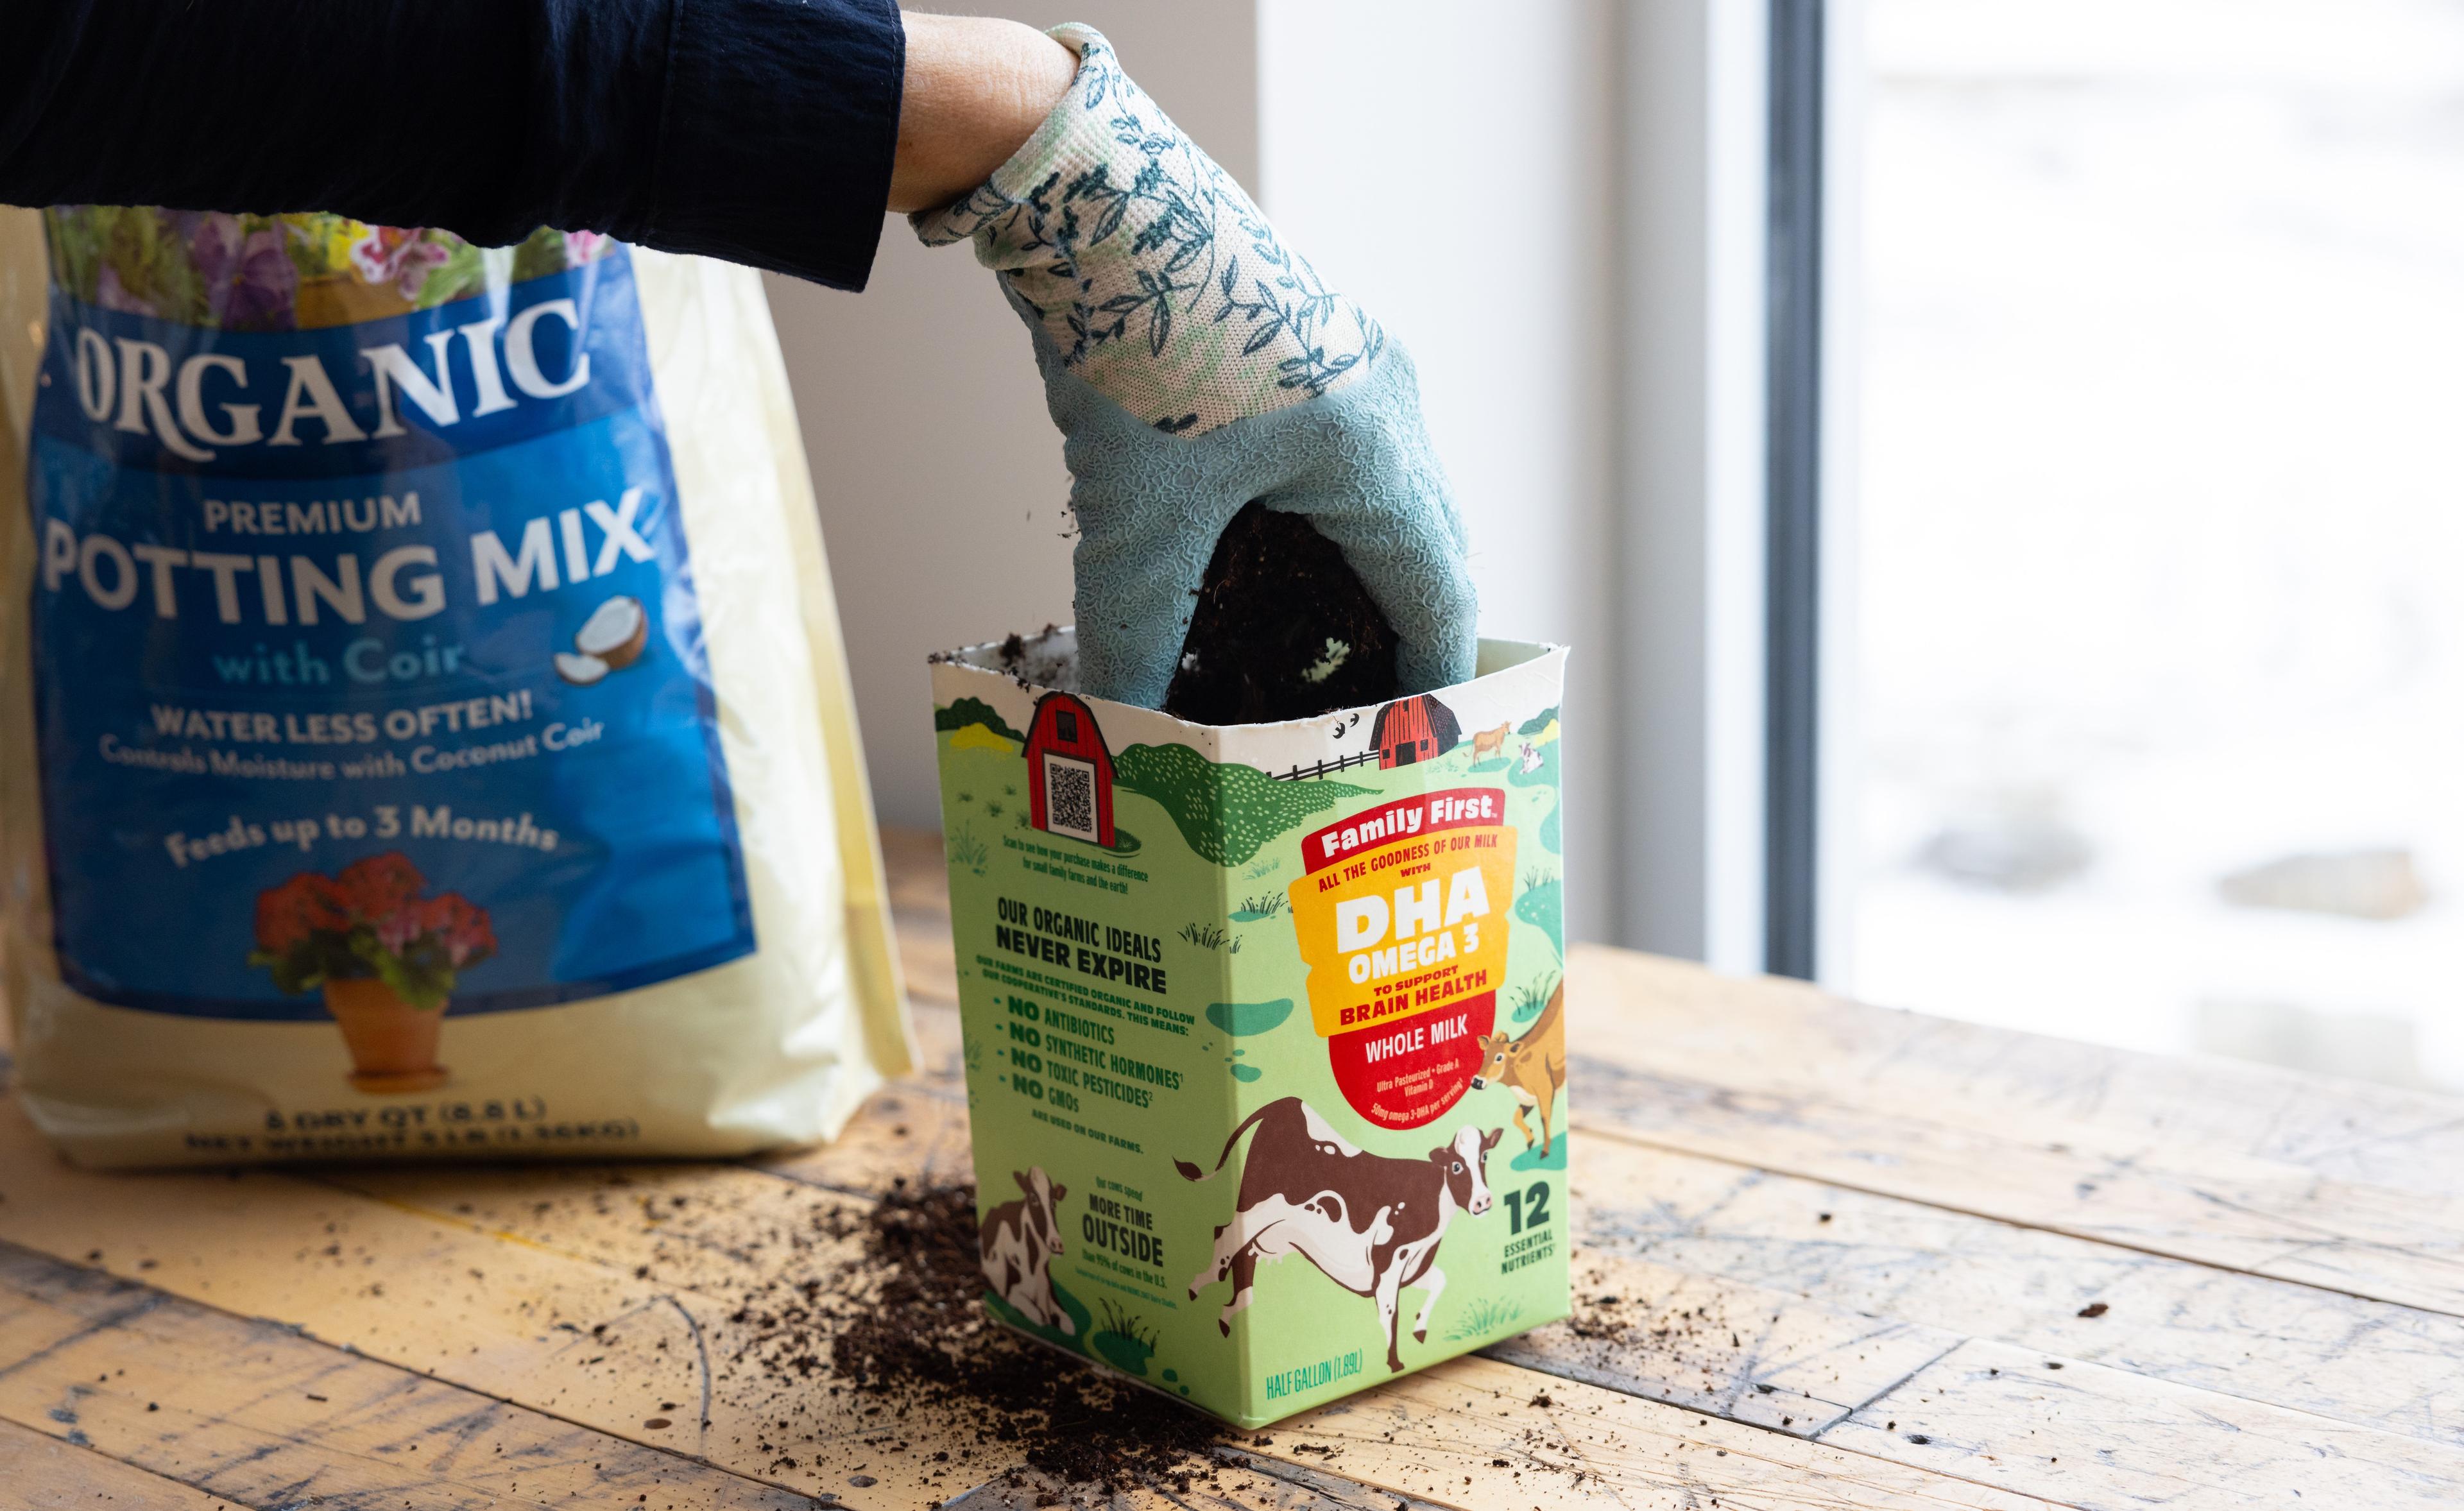
- Using your hands or a trowel, scoop soil into the carton, leaving about an inch of space at the top of the container.
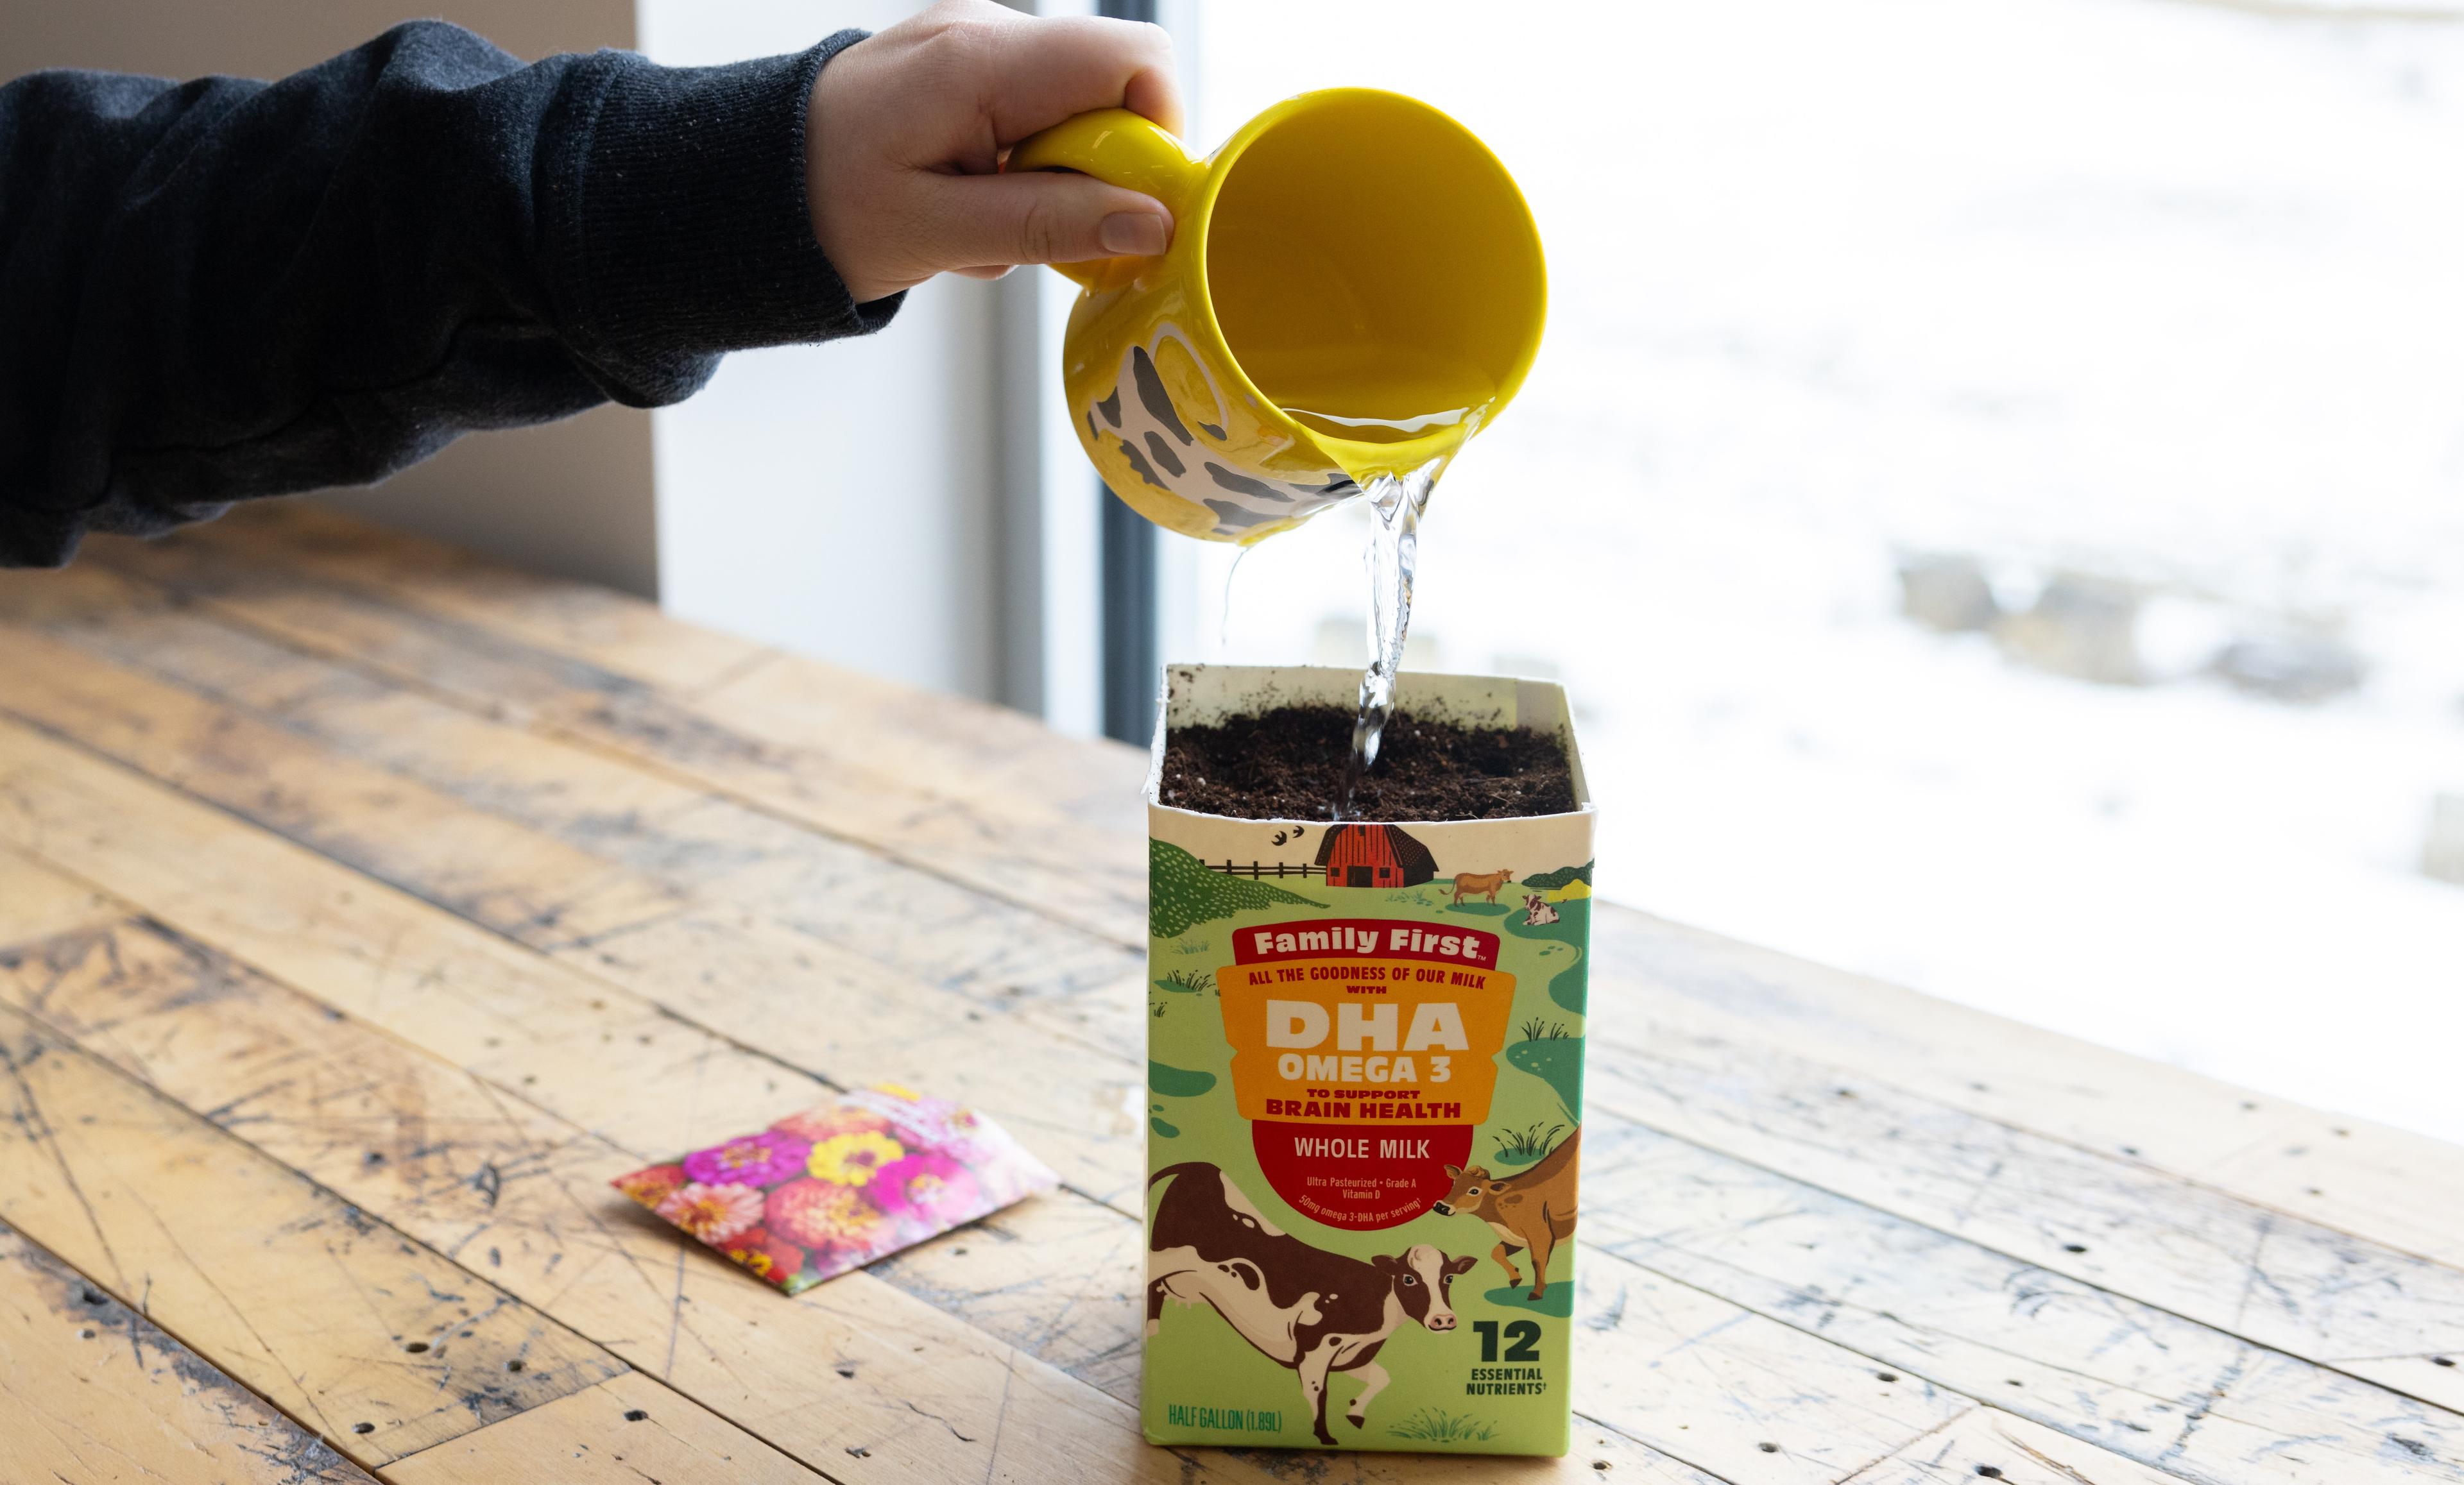
- Moisten the soil by adding small amounts of water, just enough so that the top layer of soil holds together when squeezed.
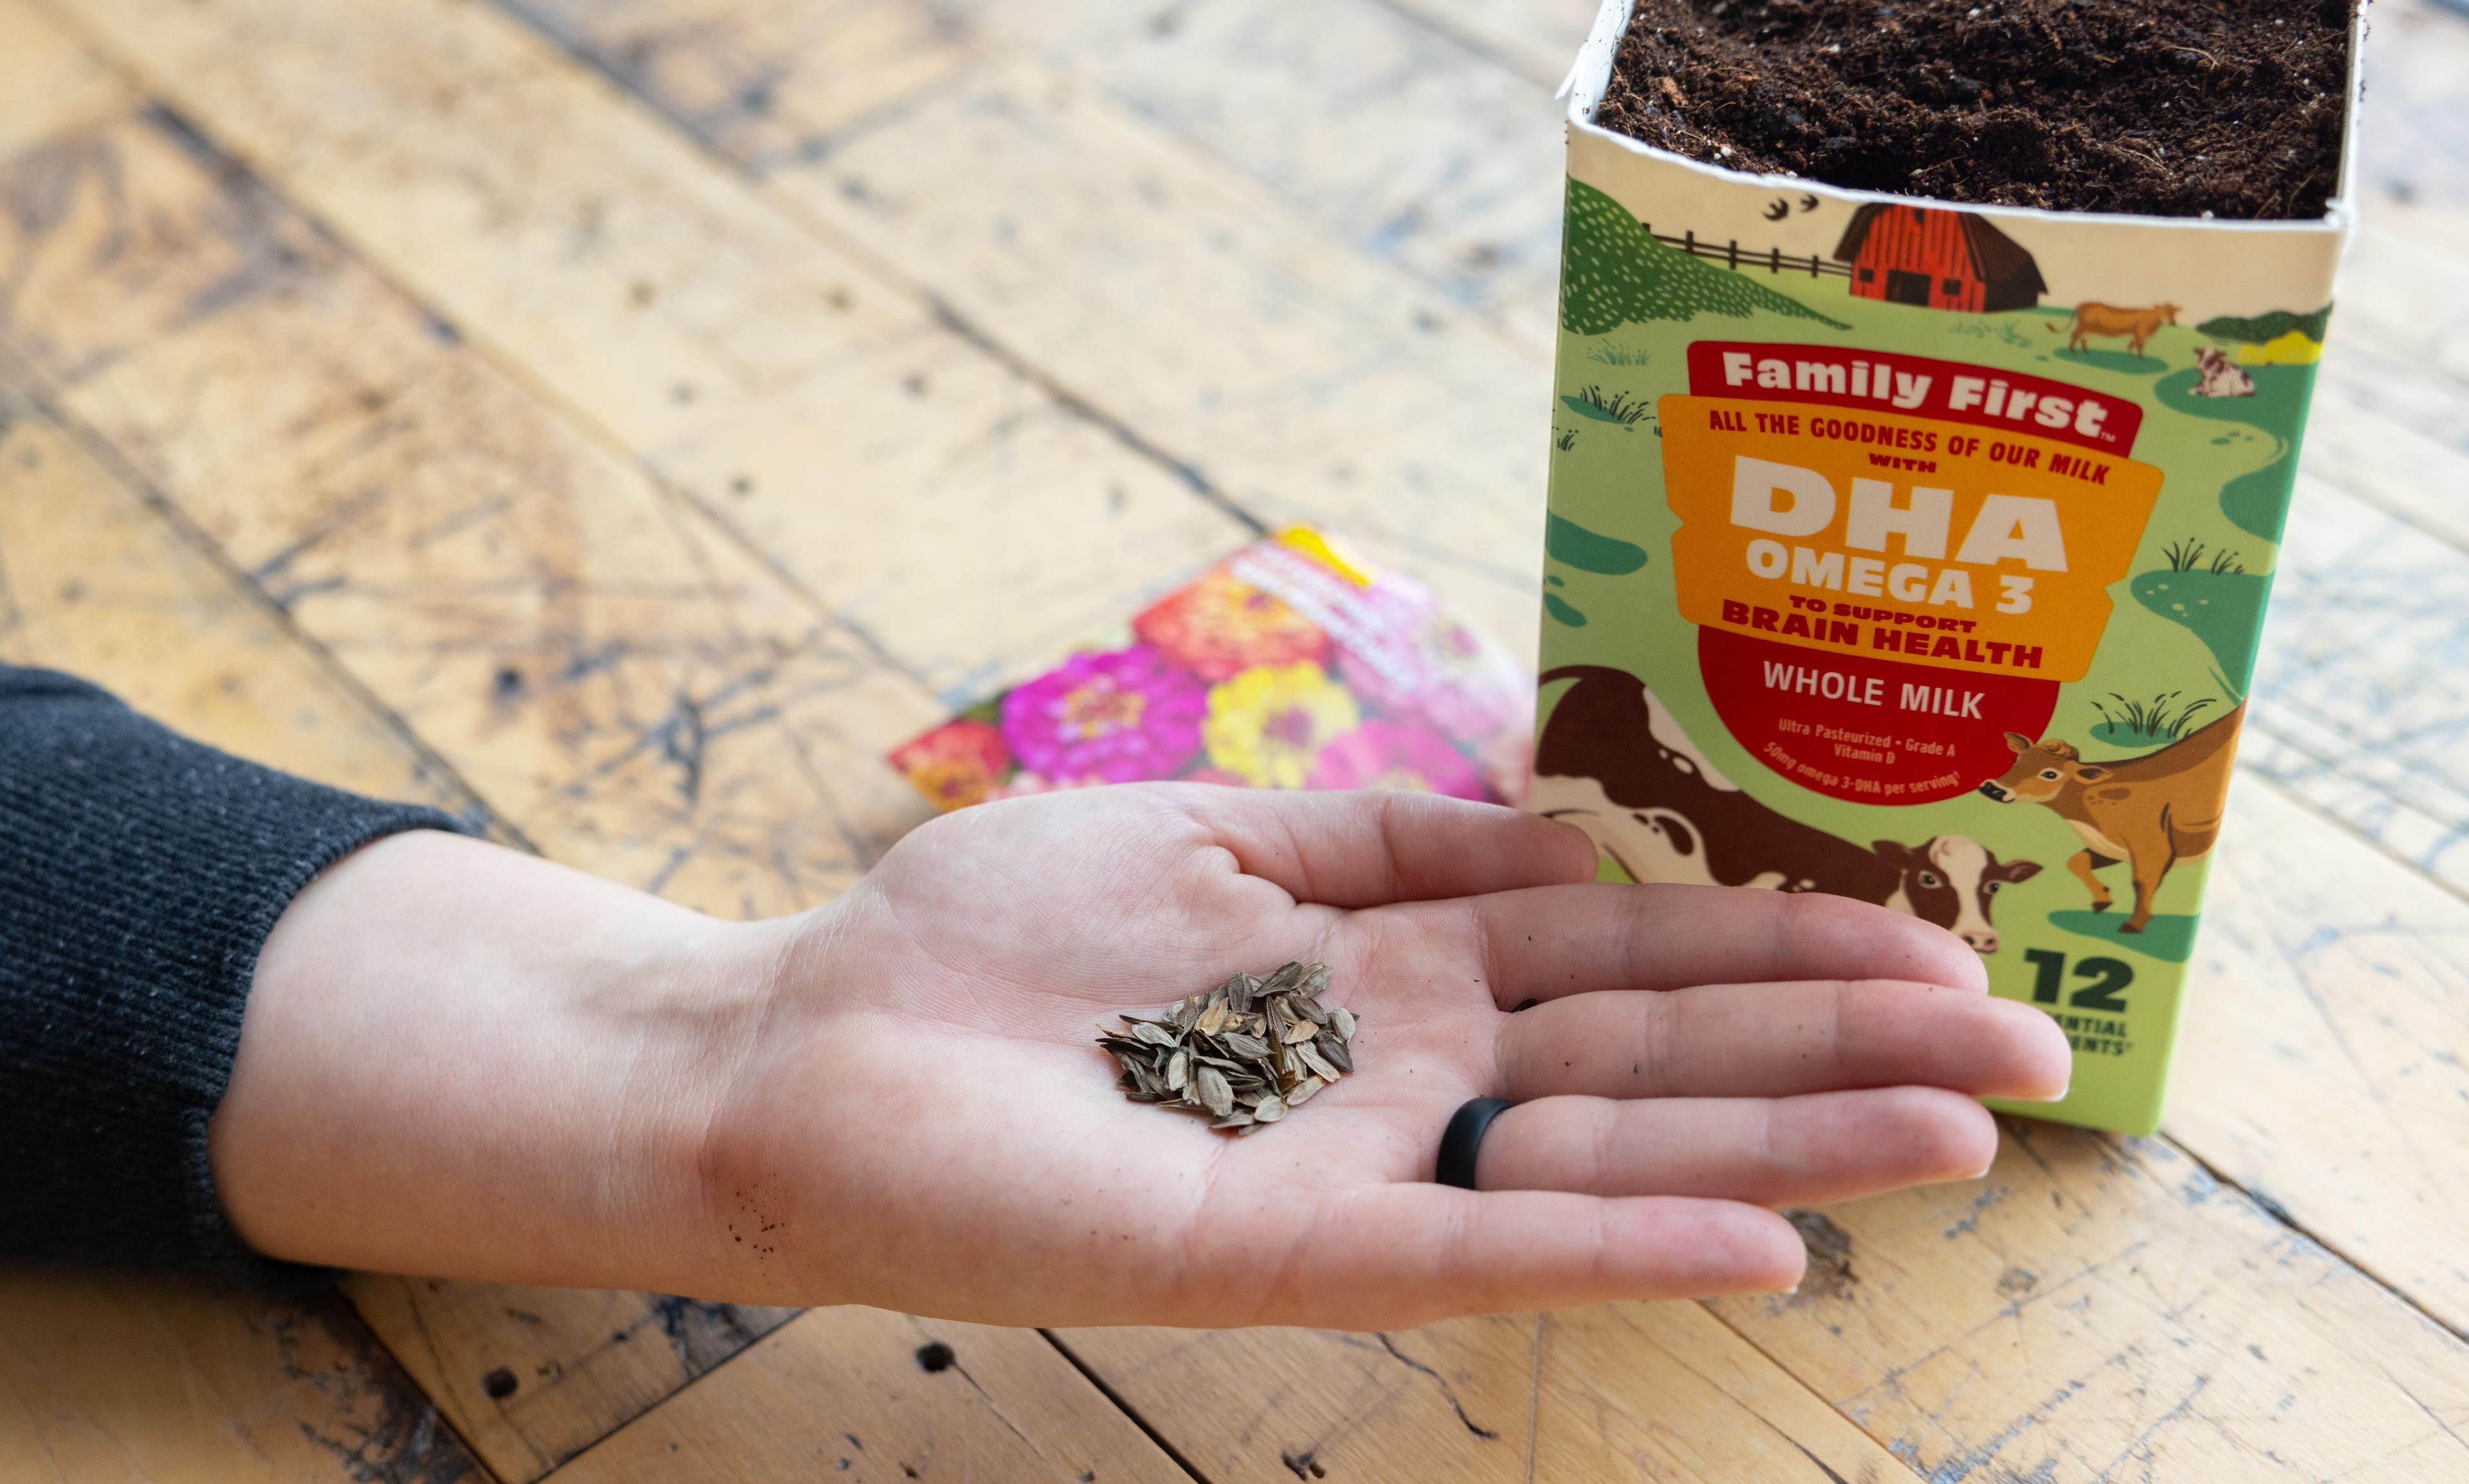
- Sprinkle your seeds over the soil and gently press them into the top layer of soil to the depth recommended on your seed packets.
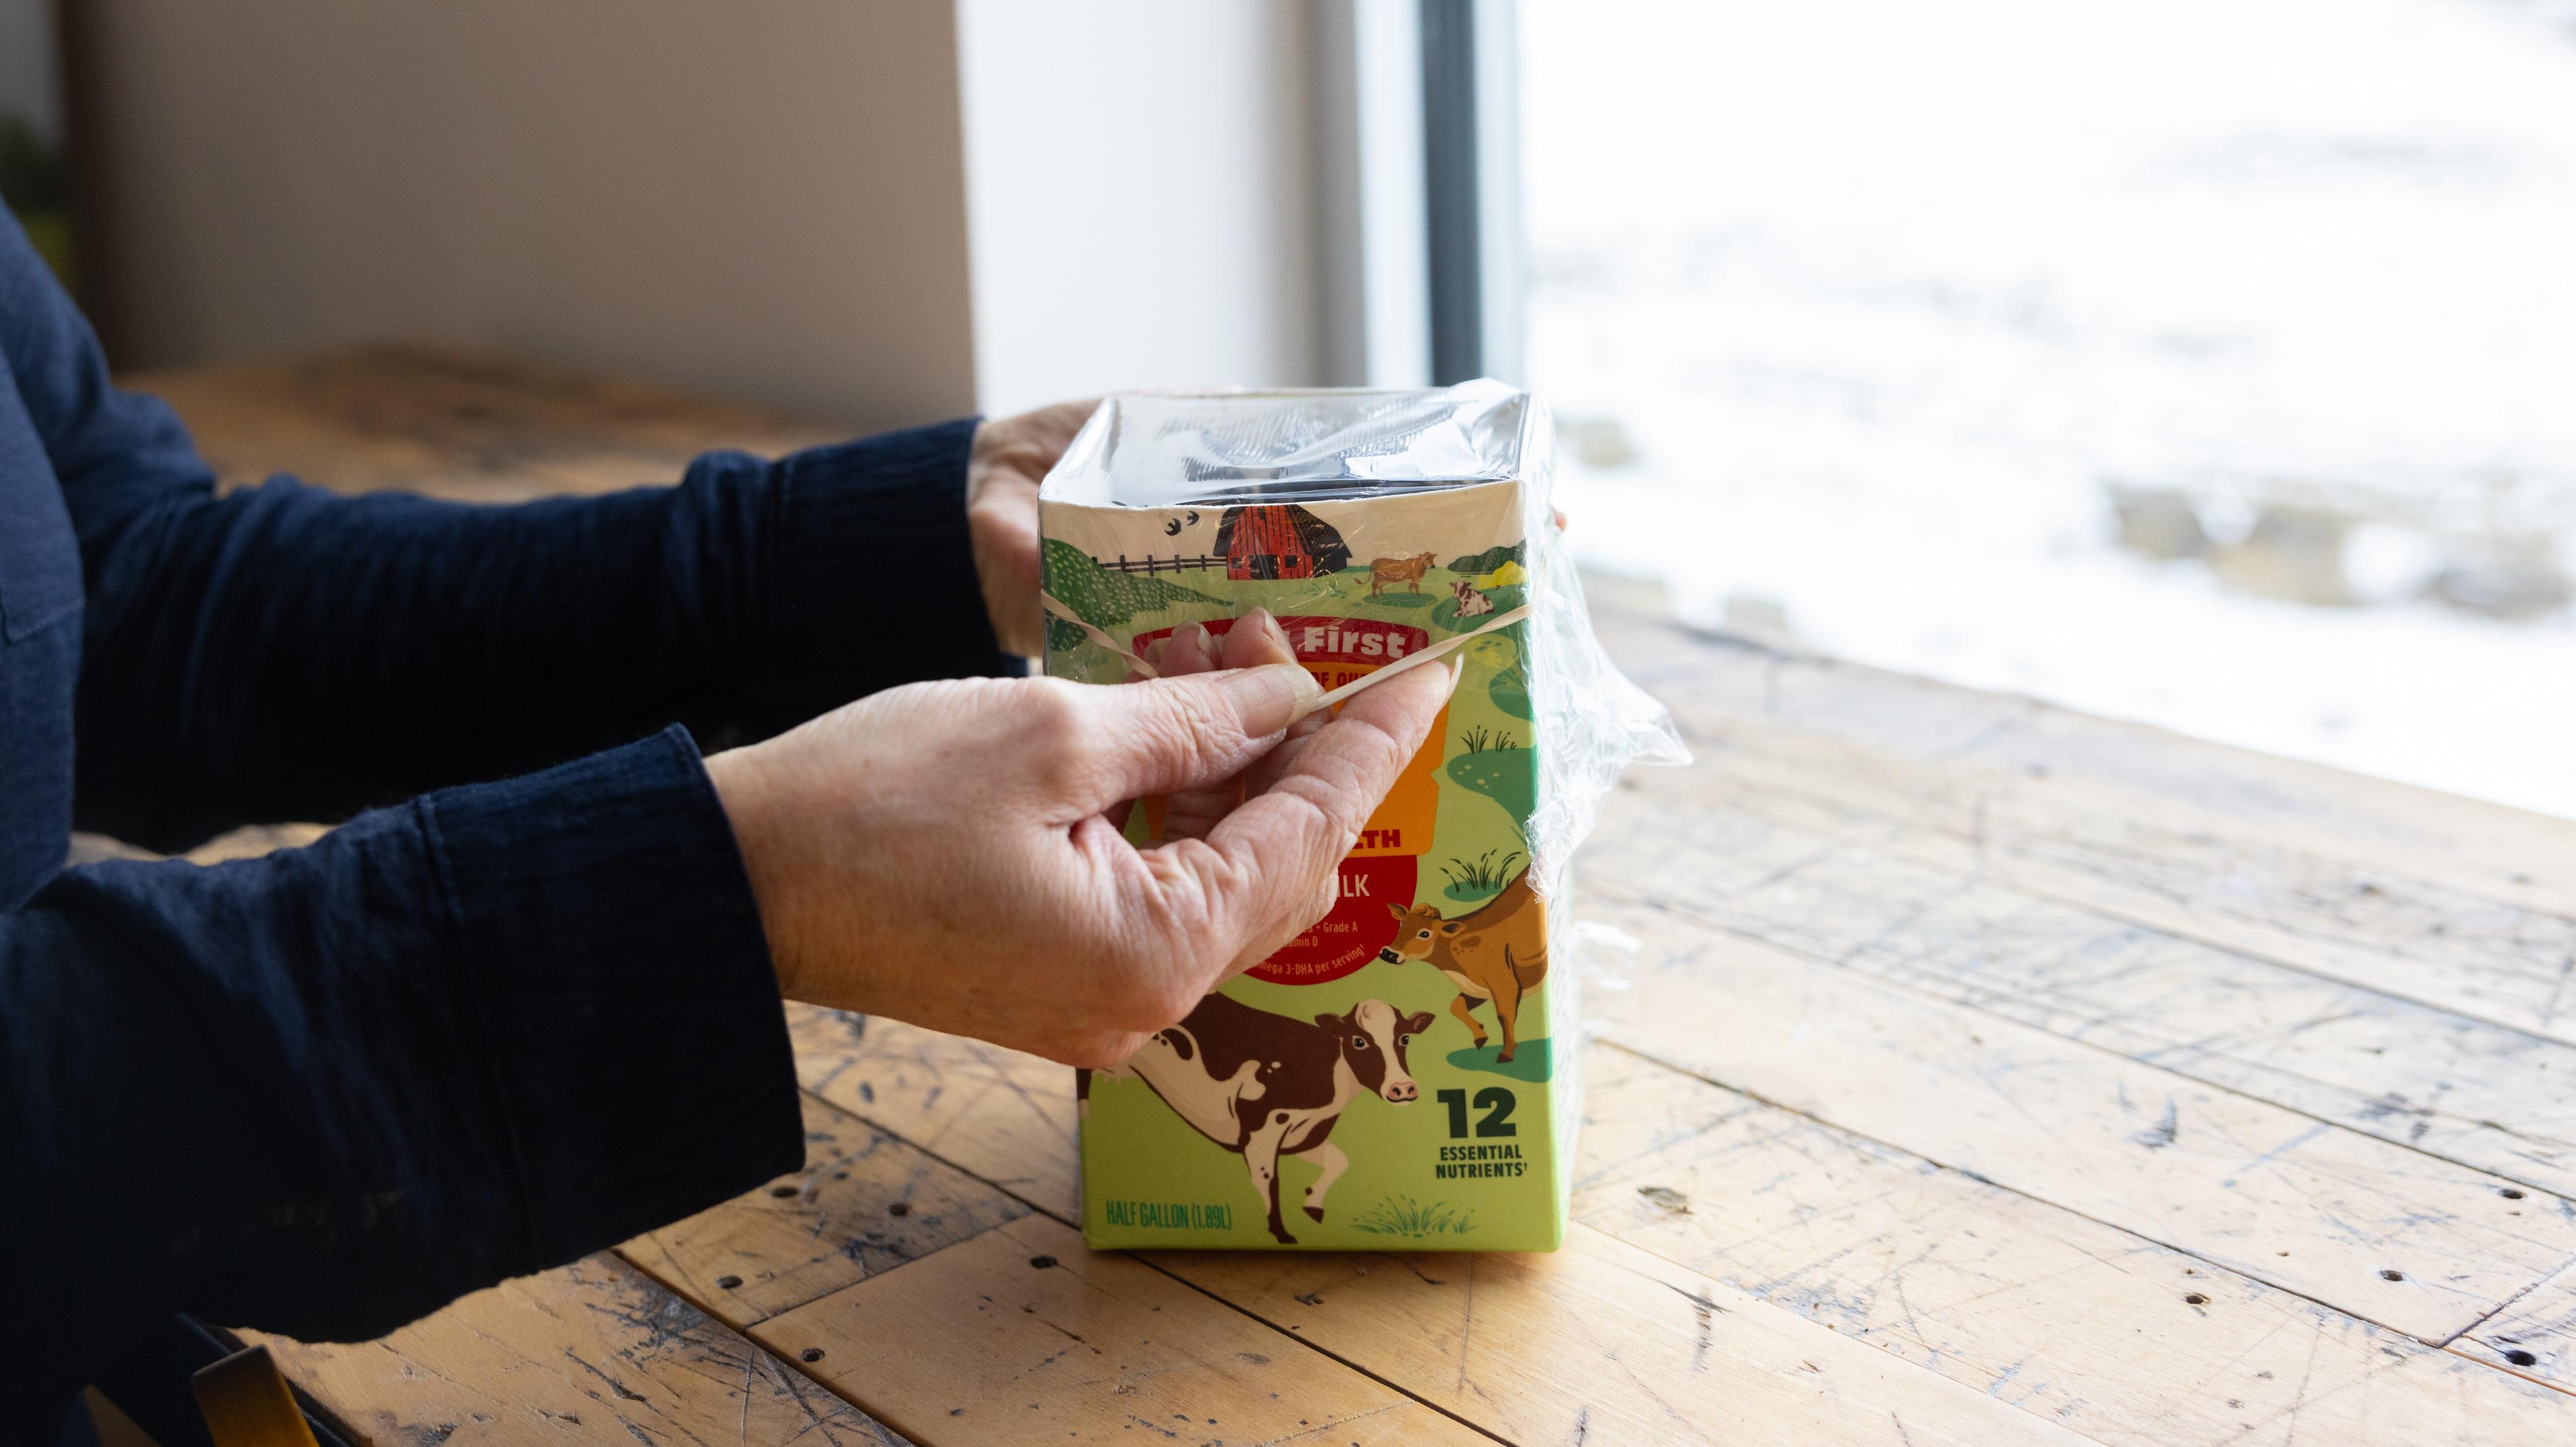
- Cover your carton with plastic wrap and place in a warm, sunny location to help your seeds germinate.

Watch your seeds come to life! After the plants emerge, remove the plastic wrap.
Once your seedlings have sprouted, you can set them on your counter to enjoy or transfer to larger pot for spring planting.
Caring for your plants: Water every few days, just enough to moisten the soil but not get soggy. Rotate your carton or planter every couple of days for increased sun exposure on all sides.
Once you transfer the seedlings and soil to a new container, we encourage you to wash out the carton and recycle it.
Paperboard milk cartons can be recycled through a process known as hydro-pulping. This process separates the polyethylene from the paper and rinses the paper fiber to be made into products such as paper towels and tissue. Some communities do not yet recycle paperboard. To find recycling options in your community, view Recycling Cartons.
Show Us Your Milk Carton Creations!
We love to see when you use our cartons for fun crafts. When your plants start to grow, share a photo on Instagram and tag @OrganicValley so we can admire your creation! You can also email a photo with a description of the seeds you used and any tips or fun ideas to Rootstockeditor@organicvalley.coop and we may feature it in this article!
Related Articles
- Tags:
- organic & sustainable living,
- family & kids,
- DIY


